Botswana
 Zambia
 Congo
Congo Colombia
 China mainland
 Chile
Chile Chad
Chad Central African Republic
 Canada
 Cameroon
 Cambodia
 Burkina Faso
 Bulgaria
 Brunei Darussalam
 Brazil
 Aland Islands
 Bosnia and Herzegovina
 Bolivia
 Belgium
 Belarus
 Bangladesh
 Bahrain
 Azerbaijan
 Austria
 Australia
 Armenia
 Argentina
 Algeria
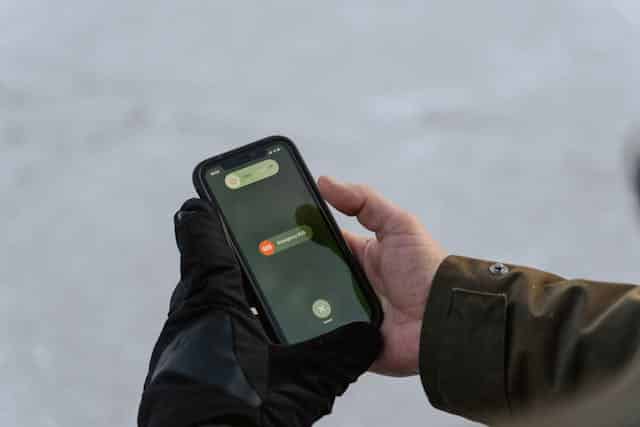
Last Tuesday, I was rushing through Sydney Airport when my iPhone suddenly showed “SOS” where my carrier signal bars should be. My heart sank—I had an important client call scheduled, and I couldn’t figure out what triggered it. After years working in telecom at BazTel, you’d think I’d know better, but SOS mode can catch anyone off guard.
That frustrating moment taught me something valuable: understanding what SOS means on iPhone isn’t just about technical knowledge. It’s about knowing how to react quickly when your device loses its cellular connection. Whether you’re dealing with a carrier outage like the recent Verizon incident, traveling internationally, or experiencing local network issues, this guide will help you get back online fast.
What SOS Mode Really Means
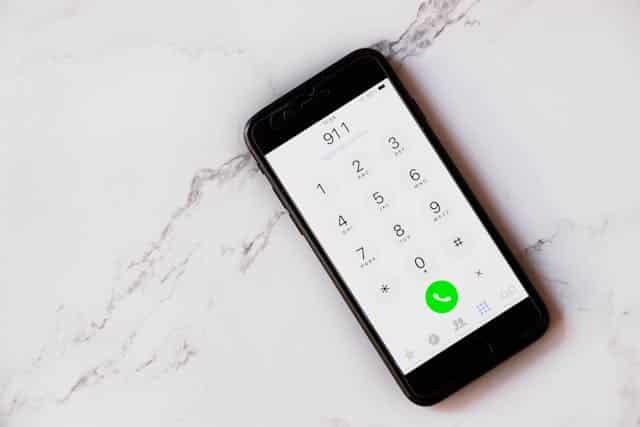
When you see SOS or “SOS Only” in your iPhone status bar, your device isn’t connected to your usual cellular network. However, your phone can still reach emergency services through other carrier networks available in your area. This safety feature works in Australia, Canada, and the United States, ensuring you can always make emergency calls even without regular service.
SOS mode differs from “No Service” messages. While No Service means your iPhone can’t detect any cellular network at all, SOS indicates that other networks are available for emergency use. Your device automatically switches to this mode when it loses connection to your carrier but can still detect alternative networks nearby.
The feature became particularly relevant during the January 2026 Verizon outage, when over 100,000 customers saw their devices stuck displaying SOS for nearly 10 hours. During outages like these, your iPhone maintains the ability to contact emergency services while waiting for normal service restoration.
Why Your iPhone Enters SOS Mode
Several factors can trigger SOS mode on your device. Understanding these causes helps you identify quick solutions instead of wasting time on fixes that won’t work.
Carrier outages remain the most common culprit. When your mobile provider experiences network disruptions, your iPhone automatically switches to SOS mode. The recent Verizon outage demonstrated how widespread these issues can become, affecting customers across multiple states simultaneously.
Poor cellular network coverage creates another frequent trigger. Remote areas, underground locations, and buildings with thick walls often lack adequate signal strength. Your device enters SOS mode when it can’t connect to your carrier but detects other networks in range.
SIM card issues cause unexpected SOS problems. A physical sim card that’s not seated properly in the sim tray, or an improperly configured eSIM, prevents your iPhone from connecting to your carrier’s cellular network. Dust, damage, or manufacturing defects with your SIM can trigger this mode without warning.
Traveling internationally without proper roaming setup almost guarantees SOS mode. When you cross borders, your device needs data roaming enabled and compatible carrier settings to maintain service. Without these configurations, your phone defaults to emergency-only access.
Software glitches occasionally trigger SOS mode unexpectedly. Outdated iOS versions, corrupted network settings, or failed carrier settings updates can disrupt your cellular connection. I encountered this firsthand after an iOS update last year—my phone showed SOS until I reset my network settings.
Quick Fixes to Get Out of SOS Mode
Most SOS issues resolve quickly with simple troubleshooting steps. Start with these solutions before moving to more complex fixes.
Toggle Airplane Mode
Turn airplane mode on for 15 seconds, then turn it off. This forces your device to reconnect to available networks. Swipe down from the top-right corner on newer iPhones to access Control Center, tap the airplane icon, wait, then tap again. This simple restart of your cellular radio often fixes temporary connection glitches.
Force Restart Your iPhone
A force restart clears temporary software issues that prevent network connections. For iPhone 8 and later models, quickly press and release the volume up button, quickly press and release the volume down button, then press and hold the side button until the Apple logo appears. This process takes about 10 seconds and won’t delete your data. If you’re considering a more thorough solution, learn how to perform a factory reset on your iPhone safely.
Check Your SIM Card
Physical sim card problems require hands-on fixes. Use the sim eject tool or a paperclip to gently push the small hole in your sim tray until it pops out. Remove the card, check for dust or damage, then reseat it carefully. Make sure the tray closes completely and sits flush with your phone.
If you see sos after reinserting your card, try cleaning the gold contacts with a dry, lint-free cloth. Avoid using water or cleaning solutions, as moisture can damage the card permanently.
Update Carrier Settings
Carrier settings updates improve how your device communicates with your mobile provider. Connect to wi fi, then go to Settings > General > About. If a carrier settings update is available, you’ll see a prompt to install it. These updates often fix compatibility issues that cause SOS mode.
Enable Data Roaming for International Travel
Traveling internationally requires specific settings to avoid SOS mode. Go to Settings > Cellular > Cellular Data Options and turn on data roaming. This allows your iPhone to connect to local carrier networks in other countries. Without this setting enabled, your device can only make emergency calls while abroad.
How to Get iPhone Out of SOS Mode with eSIM
eSIM users face unique challenges when dealing with SOS mode. Unlike physical sim cards you can remove and reinsert, eSIMs require different troubleshooting approaches.
First, verify your eSIM is activated and turned on. Go to Settings > Cellular and check if your cellular line shows as active. If it’s turned off, tap “Turn On This Line” and wait for the connection to establish. Sometimes eSIM lines become disabled after iOS updates or network changes.
For dual SIM setups, confirm which line is set as your primary for cellular data. Go to Settings > Cellular > Cellular Data and select the correct line. Your device might default to the wrong line after configuration changes, causing unexpected SOS issues.
Check with your carrier to ensure your eSIM profile is properly registered on their network. Unlike physical SIM cards that can be tested in other devices, eSIM problems often require carrier-side verification. Most providers can refresh your eSIM activation remotely through their customer service channels.
If these steps don’t resolve the issue, try removing and reinstalling the eSIM profile. This process varies by carrier, but generally involves downloading a new eSIM QR code or activation details from your provider. Note that this should be a last resort, as you’ll need good wi fi coverage to complete the reinstallation.
Reset Network Settings as a Last Resort
When simple fixes fail, resetting network settings often resolves stubborn SOS issues. This option clears all saved wi fi passwords, VPN configurations, and cellular settings, returning them to factory defaults.
Go to Settings > General > Transfer or Reset iPhone > Reset > Reset Network Settings. Enter your passcode when prompted, then confirm the reset. Your device will restart automatically after the process completes.
After the restart, you’ll need to reconnect to your wi fi networks and re-enter passwords. Your cellular connection should establish automatically if your carrier and SIM card are functioning correctly. This reset fixes corrupted network configurations that prevent proper cellular network connections.
I use this method sparingly because re-entering wi fi passwords across multiple networks takes time. However, it’s proven effective when other troubleshooting steps fail to restore normal service.
Understanding Recovery Mode for Severe Issues
Recovery mode represents the nuclear option for persistent SOS problems. This approach should only be used when software corruption prevents all other fixes from working.
Connect your iPhone to a computer using a charging cable. For iPhone 8 and later, quickly press and release the volume up button, quickly press and release the volume down button, then press and hold the side button until you see the recovery mode screen.
Your computer’s iTunes or Finder will detect the device and offer options to update or restore. Choose update first, as this preserves your data while reinstalling iOS. If the update doesn’t fix the SOS issue, restoration becomes necessary—but this erases all device content.
Recovery mode fixes deep software issues but won’t resolve hardware problems or carrier outages. Before taking this step, confirm with your mobile provider that no network outages affect your area. During the recent Verizon outage, recovery mode wouldn’t have helped because the problem existed on the carrier side, not the device.
What to Do During Carrier Outages
Carrier outages require patience rather than troubleshooting. When thousands of customers simultaneously see sos on their status bar, the problem lies with your service provider’s network infrastructure.
Check DownDetector or your carrier’s official social media channels to confirm widespread outages. If others in your area report similar issues, your device is functioning correctly—the network is down. Avoid repeatedly restarting your iPhone or resetting settings, as these actions won’t restore service during outages.
Stay connected through wi fi instead. Enable wi fi calling in Settings > Phone > Wi-Fi Calling to make calls over your internet connection. This feature works even when cellular service is unavailable, letting you reach anyone with a phone number.
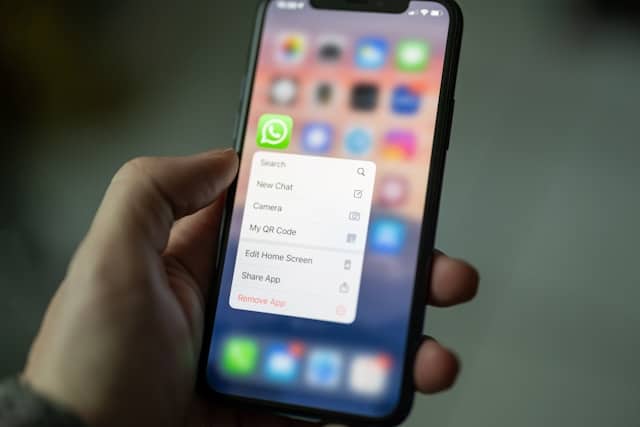
Use messaging apps like WhatsApp, Signal, or iMessage over wi fi to stay in contact. These platforms bypass cellular networks entirely, maintaining communication during outages.
The January 2026 Verizon outage lasted nearly 10 hours before service was fully restored. During that time, customers who switched to wi fi calling maintained communication despite their devices showing SOS. Verizon later offered $20 account credits to affected customers—a small consolation for the disruption.
Preventing SOS Mode When Traveling
International travel creates the perfect storm for SOS issues. Preparation before departure prevents frustration at your destination.
Contact your carrier before traveling to verify international roaming coverage in your destination country. Some providers offer affordable travel passes or daily rates that activate automatically when you cross borders. Others require manual activation through their app or customer service.
Enable data roaming before you leave. The setting stays inactive at home but allows seamless connection when you arrive abroad. Go to Settings > Cellular > Cellular Data Options and turn on data roaming.
Consider travel eSIMs as an alternative to your primary carrier’s roaming charges. Services like BazTel provide affordable data-only eSIM plans for over 160 countries. These install alongside your regular SIM or eSIM, letting you switch between carriers without changing physical cards. For more travel insights, see our guide to the best time to visit Bali.
Download offline maps and important information before traveling. Even with proper roaming setup, you might experience temporary SOS mode in areas with weak coverage. Offline resources ensure you’re never completely stranded.
Update your carrier settings before departure. Connect to wi fi at home and check Settings > General > About for available updates. These updates often include improved roaming profiles for various countries.
When to Contact Your Carrier or Apple Support
Some SOS issues require professional intervention. Knowing when to escalate saves hours of frustrating troubleshooting.
Contact your carrier first if SOS mode persists after trying all basic fixes. They can verify your account status, check for network issues in your area, and refresh your connection from their end. Many connectivity problems stem from account configuration issues that only your mobile provider can resolve.
Hardware problems require Apple Support. If your device shows “No SIM” even with a properly inserted card, or if the cellular option in Settings appears grayed out, you might have a damaged SIM tray or cellular antenna. These issues need professional diagnosis and potentially hardware repair.
The Apple Support app offers remote diagnostics for iPhone models running iOS 18. This tool can identify hardware failures before you visit a store, saving time and helping technicians prepare for your appointment.
For eSIM-specific problems that resist troubleshooting, contact your carrier rather than Apple. Most eSIM issues involve activation or network registration problems that require carrier-side intervention. They can push new eSIM profiles or reset your network registration remotely. If you are using eSIM data while traveling and wonder how much data common apps like Google Maps use, learn more about Google Maps data consumption here.
Key Takeaways
SOS mode indicates your iPhone can’t connect to your usual carrier but maintains access to emergency services through alternative networks. This safety feature ensures you can always reach help when needed.
Most SOS issues resolve quickly through airplane mode toggling, force restarts, or SIM card reseating. These simple fixes address the majority of temporary connectivity problems without requiring technical expertise.
Carrier outages create SOS mode across thousands of devices simultaneously. During these events, patient waiting and wi fi calling provide the best alternatives to cellular service.
International travelers should enable data roaming and verify coverage before departure. Proper preparation prevents unexpected SOS mode in foreign countries.
eSIM users face unique troubleshooting challenges that often require carrier support. Understanding your eSIM configuration helps identify whether problems stem from your device or network registration.
Network settings resets and recovery mode represent last-resort options for persistent issues. These powerful tools fix deep software problems but should only be used after simpler solutions fail.
When you see SOS on your iPhone status bar, stay calm and work through these solutions methodically. Most connectivity issues resolve within minutes, getting you back online and connected to what matters most.

Blog Author
Peter
Peter started BazTel.co to make mobile internet easier for travellers. He noticed how tough it was to find good network options while visiting new countries. That’s when he built BazTel — a place where anyone can buy eSIMs online without confusion or long steps. He believes tech should be simple and useful, not complicated. When he’s free, he likes to travel, test BazTel himself, and keep improving it based on real user problems.