 Botswana
 Zambia
 Congo
Congo Colombia
 China mainland
 Chile
Chile Chad
Chad Central African Republic
 Canada
 Cameroon
 Cambodia
 Burkina Faso
 Bulgaria
 Brunei Darussalam
 Brazil
 Aland Islands
 Bosnia and Herzegovina
 Bolivia
 Belgium
 Belarus
 Bangladesh
 Bahrain
 Azerbaijan
 Austria
 Australia
 Armenia
 Argentina
 Algeria
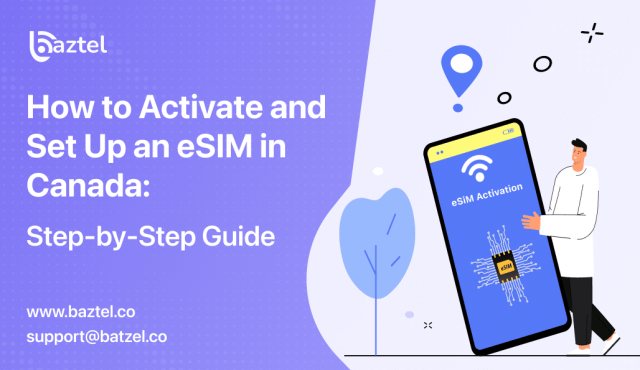

Traveling in Canada can be exciting, but staying connected often feels like a headache. Running around for a local SIM, filling forms, or worrying about roaming charges can spoil your trip. That is where an eSIM comes in. It is a small digital SIM inside your phone that removes the need for plastic cards. With it, you can buy a plan online, scan a code, and start using data in minutes.
This guide will walk you through everything about activate eSIM Canada, from setup to troubleshooting. You will learn how eSIM works, how to buy one in Canada, and how to install it step by step on iPhone or Android. We will also cover how to manage plans, what to do if something goes wrong, and which options are best if you travel outside Canada.
By the end, you will have a complete eSIM installation guide designed for Canadian travel. Whether you are visiting for a week, staying for work, or moving here for longer, this blog will make sure you stay connected without stress.
Activating Your eSIM – Step by Step
Activate eSIM Canada on Your Mobile Device
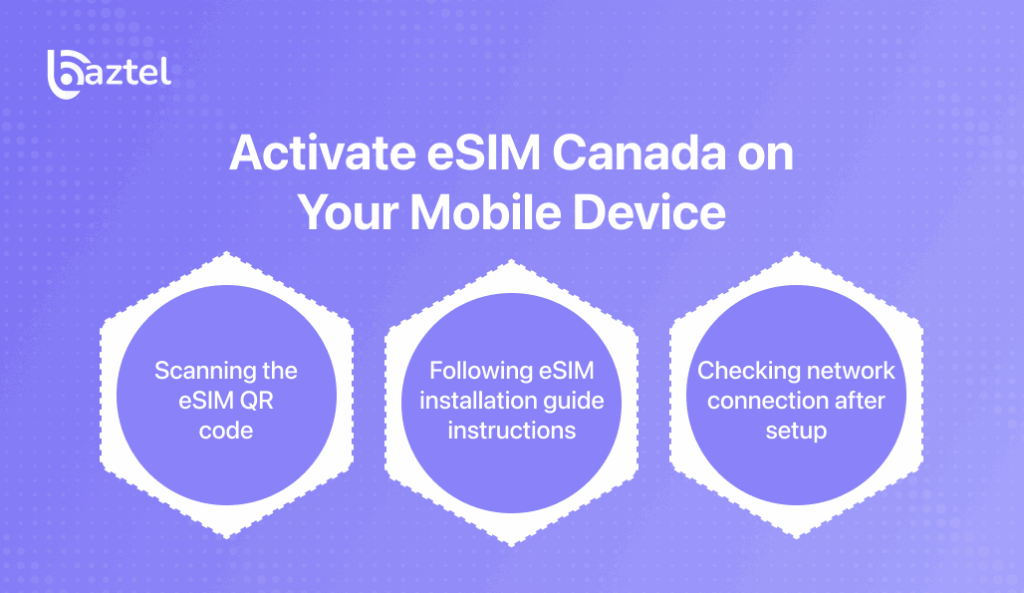
The activation process is simple, but every step matters. After purchasing your Canadian eSIM, you’ll receive a QR code either by email or through your provider’s app. Open your phone settings, select the option to add a mobile plan, and scan the QR code. This will download the carrier profile directly onto your device. Once the profile installs, your phone should connect automatically to the network. To confirm, check your signal bars and try browsing online. If it doesn’t work right away, restarting your phone often helps finalize the activation.
Scanning the eSIM QR code
The QR code acts as your key to unlock the plan. Open your phone’s settings, select “Add Mobile Plan,” and point the camera at the QR code. Within seconds, your device begins installing the eSIM profile. Always ensure you are connected to Wi-Fi during this step to avoid interruptions.
Following eSIM installation guide instructions
Every provider sends a short installation guide with the QR code. It explains where to find the scanning option in your phone. The process may differ slightly between iPhone, Samsung, or Pixel, so following the guide ensures no mistakes. Most guides also explain how to set the eSIM as your default data line after activation.
Checking network connection after setup
After scanning and installation, look for the network name at the top of your screen. Make a test call or open a website to confirm. If there’s no signal, go back to settings and check if the plan shows as “active.” Restarting the device often fixes minor connection delays.
Read our full guide on manual eSIM activation.
iPhone eSIM Setup Canada – Step-by-Step eSIM Installation Guide
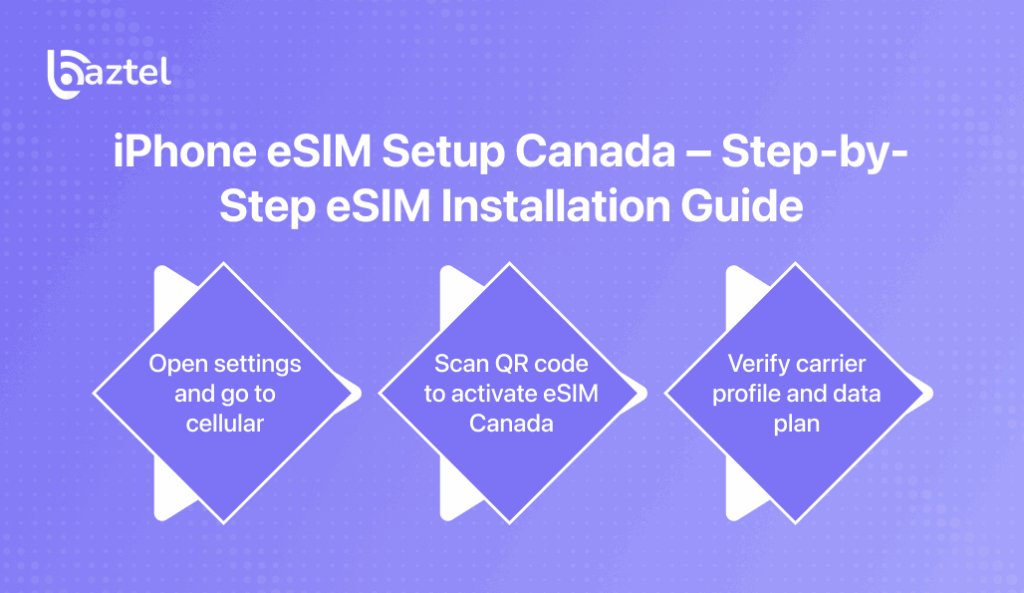
Apple devices make eSIM activation very straightforward. After purchasing your eSIM, open your iPhone’s settings and go to the “Cellular” section. Select “Add Cellular Plan” and scan the QR code provided by your carrier. The phone automatically downloads and installs the plan. Once complete, you can see the new carrier profile under Cellular Plans. Apple allows you to store multiple eSIM profiles, so you can easily switch between them for different destinations. The process is quick, reliable, and doesn’t require any extra apps.
Open settings and go to cellular
From your iPhone home screen, tap on Settings. Scroll down to Cellular and tap “Add Cellular Plan.” This is where you start the activation process.
Scan QR code to activate eSIM Canada
Use the camera to scan the QR code shared by your provider. Make sure you are connected to Wi-Fi while doing this. The plan installs in a few seconds.
Verify carrier profile and data plan
Once the installation is complete, the new carrier appears in your settings. Check if data is enabled and try browsing online. You can also rename the plan if you want to keep it separate from your primary line.
Follow our step-by-step iPhone eSIM activation guide or read Apple’s official instructions.
Android eSIM Setup Canada – Complete eSIM Installation Guide
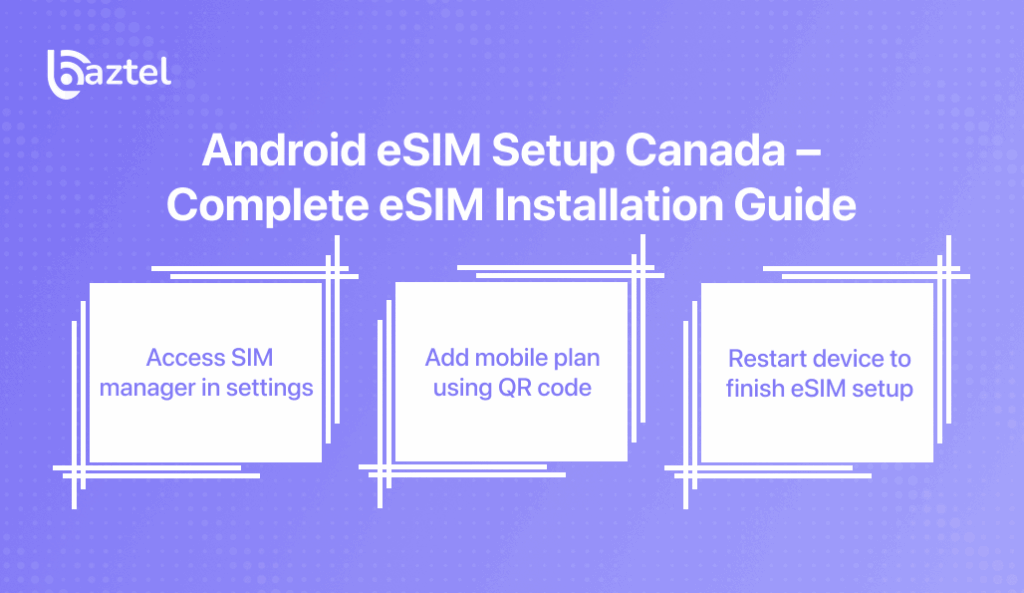
Android phones vary slightly depending on brand, but the process is simple. After buying your eSIM, open settings and look for “Connections” or “SIM Manager.” Select the option to add a mobile plan, then scan the QR code sent by your provider. The device will install the eSIM profile and connect to the network. If you don’t see a signal right away, restart your phone to refresh the connection. Most Android devices also allow storing more than one eSIM profile, giving flexibility to switch between local and global plans.
Access SIM manager in settings
On Samsung, go to Settings > Connections > SIM Manager. On Pixel, go to Settings > Network & Internet > SIMs. This is where you add your eSIM profile.
Add mobile plan using QR code
Tap “Add Mobile Plan” and scan the QR code provided by your eSIM provider. The system downloads and installs the plan automatically.
Restart device to finish eSIM setup
In many cases, restarting the phone helps complete the activation. After reboot, your new eSIM plan should be active, and you can start using mobile data.
Read our guide on setting up eSIM on iPhone and Android.
Managing Your eSIM in Canada
How to Manage Data, Calls, and Settings on Your eSIM
Once your eSIM is active, managing it is simple, but knowing the right settings helps you get the best experience. Canadian networks allow you to monitor data, set default lines for calls, and control roaming options directly in your phone settings. These small steps prevent overuse, avoid surprise charges, and ensure smooth connectivity whether you’re at home or traveling nearby.
Checking data usage on eSIM setup Canada
Your phone tracks data usage separately for each eSIM. On iPhone, you’ll find it under Cellular > Mobile Data. On Android, you’ll see it in SIM Manager. Keeping an eye on usage helps you avoid running out of data early, especially if you picked a short-term plan. Some providers also have apps with real-time data counters, making it easier to manage your Canadian eSIM plan.
Setting preferred SIM for calls
If your phone supports dual SIM, you can decide which number to use for calls and texts. In settings, select your Canadian eSIM as the default for data, while keeping your home number for calls if needed. This flexibility is one of the best parts of eSIM setup Canada because you don’t need to swap cards physically to stay reachable.
Turning data roaming on or off
Data roaming is usually turned off by default. If you plan to travel from Canada to the US or another country, you can enable roaming in your settings. If you don’t, make sure it stays off to avoid unexpected charges. Managing roaming this way gives you control and peace of mind when using your eSIM abroad.
Learn more about ways global eSIM makes travel easier.
Switching Between Devices with Activate eSIM Canada Plans
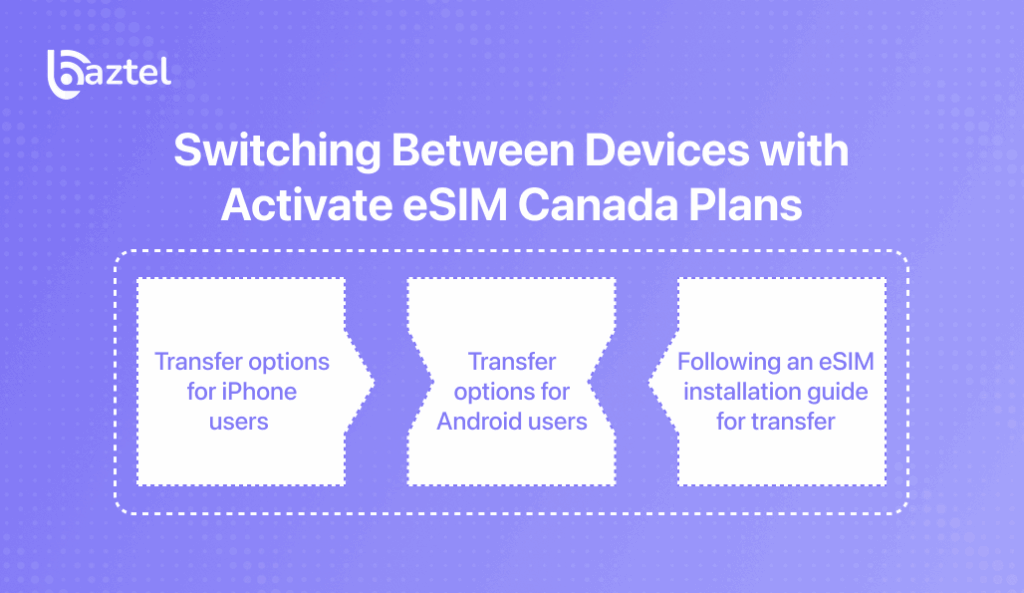
Sometimes you need to move your eSIM from one device to another. This is common for people who upgrade phones or use a secondary device for work. The process is straightforward but slightly different for iPhone and Android users. Most providers allow transfers, but you’ll need to request a new QR code or use built-in phone transfer features. Following the right eSIM installation guide ensures you don’t lose access during the switch.
Transfer options for iPhone users
Apple makes it easy to move eSIM profiles between iPhones. In iOS settings, there’s an option to transfer an eSIM directly during setup. You can also scan a fresh QR code provided by your carrier. The process is quick, but make sure the old profile is deleted once you activate eSIM Canada on your new device.
Transfer options for Android users
On Android devices, the transfer process may involve deleting the old eSIM and requesting a new QR code. Google Pixel and Samsung phones now support built-in transfer features, but not all models have this yet. Checking your phone’s compatibility before moving helps avoid downtime.
Following an eSIM installation guide for transfer
Providers usually include transfer instructions along with the new QR code. Following them step by step ensures smooth activation on the new phone. If you travel often, keeping your global eSIM handy makes switching devices even more flexible.
Learn how to transfer eSIM on Android or explore global eSIM plans.
What Happens If You Lose Your Phone with eSIM Setup Canada?
Losing your phone while traveling in Canada can be stressful, but an eSIM makes recovery easier than a physical SIM. Since eSIM is digital, thieves can’t remove it and use it elsewhere. You also don’t have to worry about losing a small plastic chip. The main steps involve contacting your provider, requesting a replacement QR code, and securing your account information.
Contacting your provider for reissue
If your device is lost, call or email your provider to block the old profile. They will deactivate the eSIM and issue a new QR code for your replacement phone. Some carriers do this instantly, ensuring minimal downtime.
Using backup eSIM QR codes
Many providers allow you to download or print a backup QR code at the time of purchase. Keeping this stored safely helps you reinstall the eSIM quickly in case of loss. If you didn’t save it, contacting support is your next step.
Securing your account details
Always change your account password if your phone is stolen. Since eSIM is linked to your profile, this prevents misuse. Some carriers also let you log in to their portal to suspend the line immediately.
Read our guide on what happens if you delete an eSIM or check the Canadian government’s mobile code rules.
Fixing Common eSIM Problems
Troubleshooting eSIM Setup Canada Activation Issues
Even though activating an eSIM is usually smooth, some users face small problems during setup. The most common ones include scanning errors, plans not activating, or phones showing no network. These issues are frustrating, but most can be fixed with simple steps like restarting your device, ensuring Wi-Fi is on, or requesting a fresh QR code. Knowing these basics helps you avoid panic when something goes wrong.
QR code not scanning properly: If your phone can’t scan the code, check your camera lens and make sure lighting is good. Screenshots sometimes blur the code, so always scan the original email or print it. If the QR code still won’t work, request a new one from your provider.
Plan not activating after setup: Sometimes the eSIM installs but shows as “inactive.” This may happen if Wi-Fi is weak during installation. Restart your phone and check carrier settings. If it still fails, try reinstalling the plan with a fresh QR code.
No signal or network detected: If you see “No Service” after setup, ensure mobile data is enabled for the new eSIM. Check if the carrier profile appears in your settings. In most cases, a reboot or toggling airplane mode fixes the problem.
See our troubleshooting guide or Apple’s support page.
What to Do If Your eSIM Installation Guide QR Code Doesn’t Work
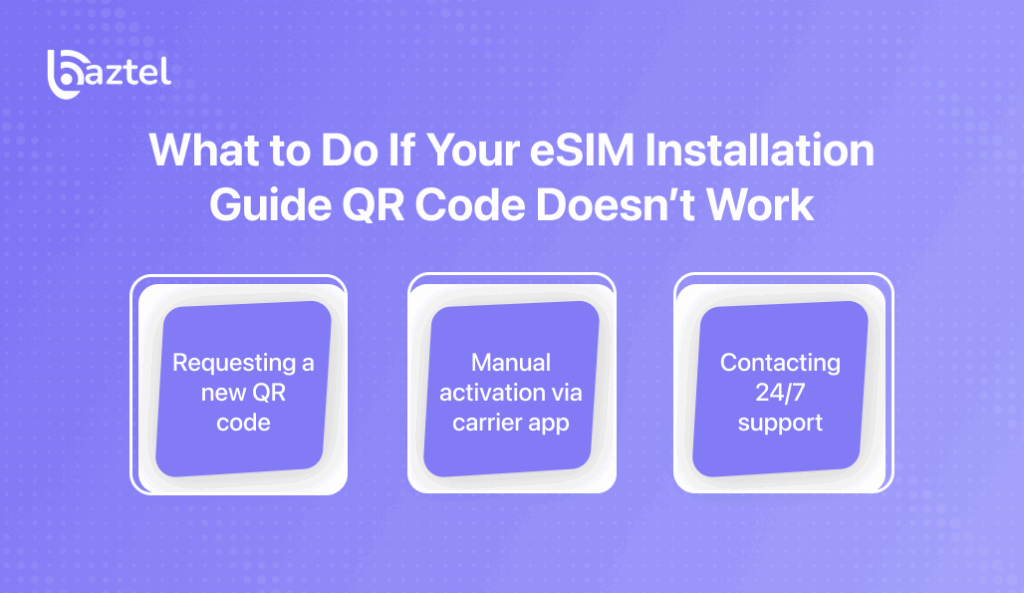
A broken or expired QR code is another common problem. Without it, the plan can’t be installed, but there are several ways to fix this. Most providers let you request a replacement instantly. If that’s not possible, many also offer manual activation through an app or account login. Support teams are available 24/7 to help when your QR code fails.
Requesting a new QR code: The fastest fix is to contact your eSIM provider and ask for a reissued code. They’ll usually email it to you within minutes.
Manual activation via carrier app: Some Canadian carriers and global providers allow plan setup directly in their apps. If your QR code is missing, you can log in to the app and activate the plan manually.
Contacting 24/7 support: Most providers offer chat or email support around the clock. If your QR code won’t work and manual options fail, customer support can guide you through the eSIM installation guide step by step.
Learn more from our Airalo troubleshooting review.
Using Your eSIM Beyond Canada
Choosing the Right eSIM Plan for Your Destination
If you plan to travel outside Canada, the best option is to buy a plan that covers your next destination. North America-wide packages work well for trips to the US or Mexico. Global eSIM installation guide options are available if you plan to visit multiple regions. Some travelers also prefer data-only plans, which are affordable and ideal for short-term use. Picking the right plan ensures you avoid roaming bills and stay connected wherever you go.
North America-wide plans: These are perfect for people crossing between Canada, the US, and Mexico. They save you from buying a new eSIM in each country.
Global eSIM installation guide options: Global plans let you use one QR code across dozens of countries. While slightly more expensive, they are best for long trips.
Best data-only eSIM setup Canada plans: If you don’t need calls or texts, data-only plans are cheaper and simpler. They are widely used by digital nomads and frequent travelers.
Check our global eSIM guide or explore regional options: North America, Asia, South America. For industry data, visit GSMA Intelligence.
Managing Your eSIM Setup Canada While Abroad
Once abroad, your Canadian eSIM can still work, but managing it properly is important. You’ll need to check network settings, avoid roaming when not needed, and top up if you run out of data. The good part is that most of this can be done online. With a few clicks, you can add more data or switch networks depending on your location.
Switching networks in foreign countries: In settings, choose the local network with the best coverage. This is especially useful if your eSIM has multi-network access.
Avoiding roaming on Canadian eSIMs: Turn roaming off unless you want to pay extra. Instead, buy a local or regional eSIM plan that works in the country you’re visiting.
Reloading or topping up plans online: Most providers allow top-ups through their websites or apps. This means you don’t need to visit a shop, even if you’re overseas.
Read our guide on using eSIM for international travel or explore regional options like Middle East eSIM and Africa eSIM.
Future of eSIM and Travel
How eSIM Setup Canada is Shaping Travel Trends
The shift to eSIM in Canada is part of a global move toward digital-first travel. With paperless boarding passes, mobile payments, and now digital SIM cards, travelers carry fewer physical items. This shift is not just about convenience; it also supports eco-friendly travel by reducing plastic waste from SIM cards. For Canadians and visitors alike, eSIM setup is becoming as normal as booking tickets online.
Paperless travel experience: No plastic SIM cards, no packaging — everything is digital.
Digital-first connectivity: Plans are activated online, saving time at airports and shops.
Eco-friendly benefits of eSIM installation guide: By reducing plastic SIM use, eSIMs contribute to sustainability.
Read our future eSIM guide or industry insights from IDC.
Emerging eSIM Installation Guide Technologies
Technology behind eSIM continues to evolve. Dual SIM and multiple eSIM profiles give travelers the freedom to store several plans at once. 5G networks make eSIM even faster, while AI-driven plan switching is being tested to automatically connect users to the best available network. These advances mean the future of eSIM setup Canada is not only flexible but also smarter than traditional connectivity.
Dual SIM and multiple eSIM profiles: Phones now allow storing several profiles, useful for frequent travelers.
5G eSIM setup Canada support: Most new devices support 5G eSIM, offering higher speeds and lower latency.
AI-based plan switching: Upcoming technology can analyze usage and switch to the best available plan automatically.
Read more on eSIM and 5G or visit GSMA’s eSIM hub.
The Impact of Activate eSIM Canada on International Roaming
Roaming has always been one of the most expensive parts of travel, but eSIM is changing that. By allowing users to switch to local or regional plans instantly, roaming costs are dropping. Carriers in Canada and worldwide are moving toward eSIM-first approaches. This means more affordable travel, fewer hidden fees, and a better experience for international users.
How roaming costs are dropping: Travelers can now avoid roaming by switching to local eSIMs.
Carriers shifting to eSIM-first approach: Canadian providers like Bell and Rogers are already prioritizing eSIM activation.
What this means for frequent travelers: It’s easier than ever to travel with one device and multiple plans ready to go.
Compare our eSIM vs roaming guide for more information.
Conclusion
Setting up an eSIM in Canada is no longer a complicated task. With just a QR code and a few steps in your settings, you can activate eSIM Canada within minutes. Travelers benefit the most, as eSIM setup Canada avoids long queues at airport kiosks and saves money on roaming charges. For locals too, it offers flexibility to switch between multiple networks without changing SIM cards. The digital nature of eSIM also means there’s no plastic waste, making it an eco-friendly choice. As carriers improve their coverage and global providers add more plans, using an eSIM installation guide will soon become second nature for every mobile user. Whether you’re visiting for a short trip, studying for a semester, or living in Canada long term, eSIM is the smarter way to stay connected.
Ready to explore your options? Start with Baztel’s Canada eSIM plans and experience instant activation today.
Frequently Asked Questions (FAQs)
How long does Activate eSIM Canada take to activate?
Activation usually takes less than 10 minutes. Once you buy a plan, the provider sends you a QR code. Open your phone’s settings, scan it, and the eSIM profile installs instantly. Some carriers may take a few extra minutes to register your device on the network, but in most cases you’ll be online right away. If it doesn’t activate, restart your phone and try again. For details, see our guide on manual eSIM activation.
How do I know if my eSIM Setup Canada worked?
You’ll know your eSIM is active once you see the carrier name and network signal on your phone’s status bar. Try opening a website or making a call to confirm. On iPhone, you can check under Settings > Cellular to see if the plan shows as “active.” On Android, open SIM Manager. If you don’t see a signal, recheck your Wi-Fi connection or scan the QR code again.
How do I restart eSIM Installation Guide in Canada?
If your eSIM didn’t activate properly the first time, you can restart the process. Go to your phone settings and remove the existing eSIM profile. Then reinstall it using the same QR code or request a new one from your provider. Many carriers also allow manual activation via their apps. Restarting your device after reinstallation usually solves most problems. Learn more in our troubleshooting guide.
What happens if I lose my eSIM Setup Canada QR Code?
If you lose your QR code, don’t panic. Most providers allow you to log in to your account and request a new one. Some even email backup codes at the time of purchase. Without a valid QR code, the plan cannot be reinstalled, so keeping a copy is always recommended. In case of issues, contact customer support. See our article on what happens if you delete an eSIM.
Can I switch between multiple Activate eSIM Canada profiles on my Android device?
Yes, most Android phones like Samsung Galaxy and Google Pixel allow multiple eSIM profiles. You can add more than one plan and switch between them in SIM Manager settings. For example, you might keep a Canadian plan and add a US plan for cross-border travel. Only one eSIM is active at a time, but switching is instant and doesn’t require new QR codes.
Is eSIM Setup Canada available on prepaid plans?
Yes, prepaid eSIMs are widely available in Canada. Many international providers offer prepaid packages that you can buy before your trip, while Canadian carriers also sell prepaid eSIMs for short stays. These are popular with tourists, students, and business travelers because they don’t require contracts. Prepaid plans are easy to activate and manage, making them a great choice for anyone who wants flexibility. You can explore prepaid options at Baztel’s eSIM plans for Canada.

Blog Author
Peter
Peter started BazTel.co to make mobile internet easier for travellers. He noticed how tough it was to find good network options while visiting new countries. That’s when he built BazTel — a place where anyone can buy eSIMs online without confusion or long steps. He believes tech should be simple and useful, not complicated. When he’s free, he likes to travel, test BazTel himself, and keep improving it based on real user problems.


